We often take our air conditioners for granted, until something goes wrong of course! If it’s been a while since you cleaned your window AC unit, it’s time to get to spring cleaning and give it a little TLC!
Cleaning a window AC unit periodically allows it to operate more efficiently, use less energy, and prevents mildew and mold from forming and growing inside your unit!
Ready to get cleaning? With a few common household supplies and our step-by-step guide, your window AC unit will be clean and ready to keep you cool through our hot summer here in Tampa Bay. Let’s go!
How Often Should I Clean My Window AC Unit?
The most critical component of your AC to clean regularly is the air filter. We recommend that you wash the removable air filter once a month. Many units have a light that comes on to indicate when it’s time to clean the filter, so if you notice this light, it’s time to give the air filter some attention!
During the cooler months when your window unit is not in use, you can remove it from the window to store it or invest in a cover to protect it in the off-season.
Ultimately, how often you clean your unit depends on how much it is used. Generally, we would recommend cleaning the entire unit seasonally and cleaning the filter once a month.
Gather Your Supplies
First, gather your supplies including:
A screwdriver
Hand vacuum or a vacuum with a hand attachment
Bucket of warm soapy water
Bristle crush
Toothbrush
Can of compressed air
Cleaning rag
Spray bottle
3% Hydrogen peroxide
Now that you’ve gathered your supplies it’s time to get cleaning. But first, you may want to clear an area where you will be working and put down an old towel or a drop cloth. Cleaning your AC can get messy!
Step #1: Clean the Air Filter
Unplug your air conditioner from its power source before cleaning. Next, locate and remove the air filter from the unit. Some window units have filters that simply pull out from one of their sides, while the front cover on others might need to be removed with a screwdriver to gain access to the filter.
Once you have removed the air filter, use a hand vacuum to extract as much dust and debris from it as possible. Next, grab your bucket with soapy water and a bristle brush and give it a gentle scrub. Let the filter dry completely before reinstalling it.
Read More> Air Filter Care 101
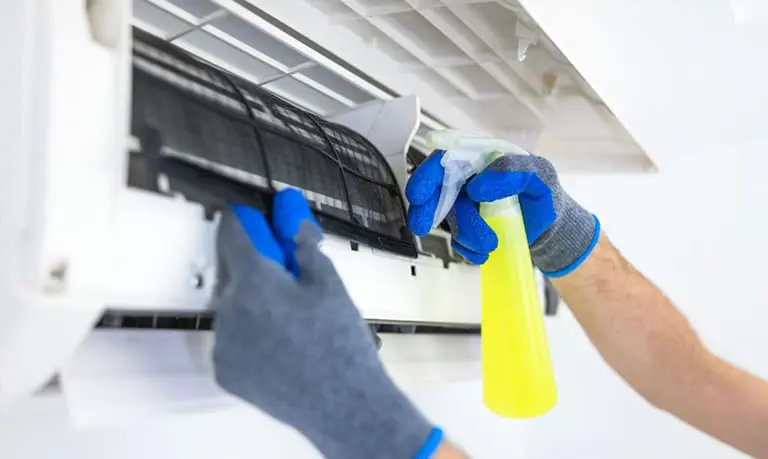
Step #2: Clean the Coils and Fins
Locate the fins and evaporator coils inside your unit and clean them using a toothbrush or soft-bristled brush. Make sure to do so gently so you do not bend or damage the fins or coils. Finally, spray the coils and ins with compressed air to remove any remaining debris.
Step #3: Clean the Grill and Exterior
Clean the grill of your AC unit with a damp cloth or rag. If the grime is substantial, remove the grill and submerge it in warm soapy water, and clean in between the grill’s gaps. Allow it to dry completely before reinstalling it.
Next, wipe the entire exterior of the window AC with a damp cloth, and don’t forget to clean the drain or drip tray if your unit has one!
Step #4. Mildew Prevention
Using hydrogen peroxide and a spray bottle, spray the exterior area where the air flows through to protect against mold and mildew growth. Allow the parts to dry completely and then assemble.
Now it’s time to relax and enjoy your clean window air conditioning unit!
Tampa’s Air Conditioning Pros
Don’t take on the hot Florida summer without a well-functioning HVAC system. Super Heat, Air, and Plumbing is the premier provider of air conditioning service and repairs in the Tampa Bay area. Contact our team today to schedule maintenance for your HVAC system!